SCIM Provisioning Configuration for Microsoft Entra ID
Configure SCIM user provisioning for Brellium using Microsoft Entra ID (formerly Azure AD)
This guide walks you through configuring SCIM provisioning for the Brellium application using Microsoft Entra ID (formerly Azure Active Directory). SCIM provisioning enables you to manage user lifecycle operations from Microsoft Entra ID.
User type — determines the default permissions assigned when the user is created in Brellium. You must set this value correctly. Accepted values: employee, operations, manager (unless otherwise configured in coordination with Brellium). If you need a custom configuration, contact your customer success manager or Brellium support.
The following attributes use the urn:ietf:params:scim:schemas:extension:enterprise:2.0:User schema namespace.
Attribute
Description
employeeNumber
Employee number
department
Department
division
Division
organization
Organization
manager
Manager
The SCIM userName attribute in Brellium follows an email address format. Ensure the userName attribute is mapped to a UPN or email field in Microsoft Entra ID that uses an email address format.
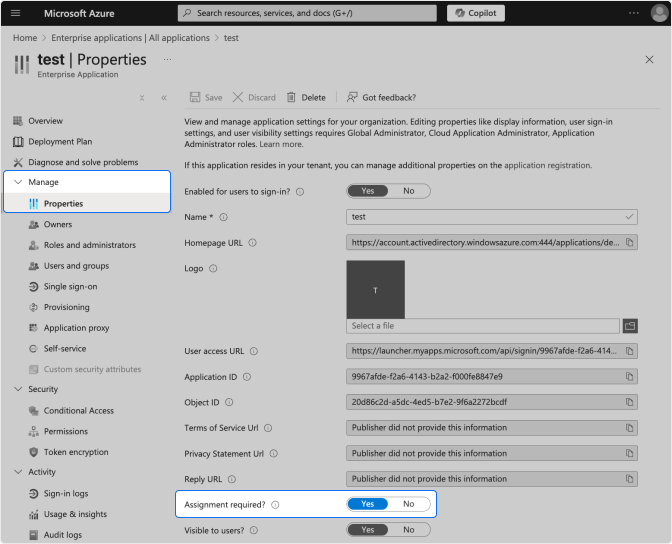
Select the application you created for Single Sign-On.
Go to Manage > Properties.
Confirm that Assignment required? is set to Yes.
Enterprise application Properties — verify Assignment required is set to Yes
2
Create a SCIM application
SCIM provisioning requires a separate non-gallery enterprise application in Microsoft Entra ID.
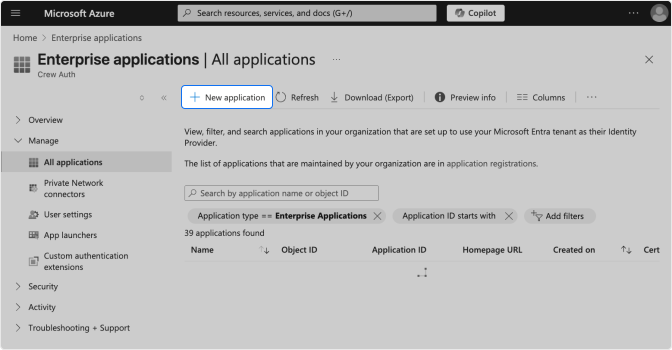
Go back to Enterprise applications and click New application.
Enterprise applications — click New application
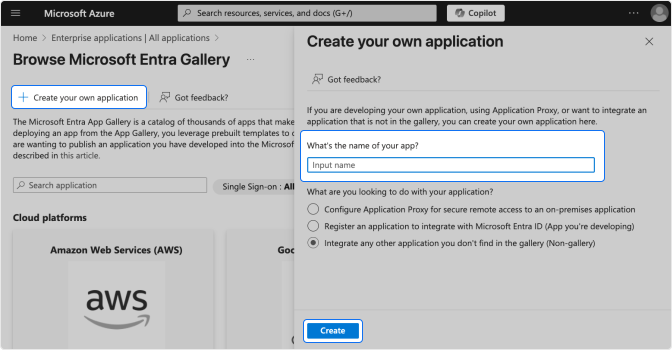
Click Create your own application.
Enter a name for the application (e.g., Brellium SCIM).
Select Integrate any other application you don’t find in the gallery (Non-gallery).
Click Create.
Create your own application — select Non-gallery
3
Assign users and groups
Assign the same users and groups to the SCIM application as those assigned to the SSO application.
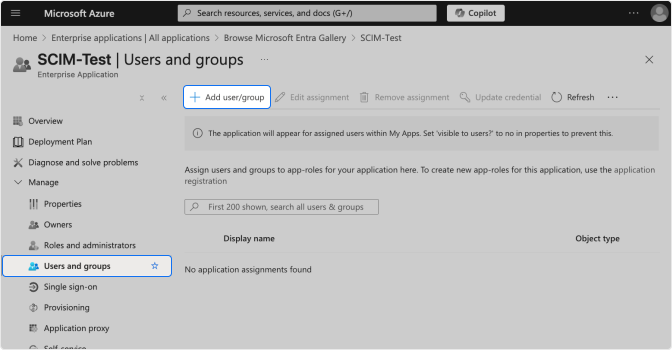
In the newly created SCIM application, go to Users and groups under Manage.
Click Add user/group.
Select the users or groups to assign and click Assign.
Users and groups — assign the same users as the SSO application
You must assign the same users and groups to the SCIM application as those in the SSO application. If users are not assigned to both applications, provisioning will not work correctly.
4
Configure provisioning
In the SCIM application, go to Provisioning under Manage.
Set Provisioning Mode to Automatic.
In the Admin Credentials section, enter the following:
Tenant URL: Provided by Brellium
Secret Token: Provided by Brellium
Click Test Connection to verify the credentials.
Click Save.
Contact your Brellium customer success manager or Brellium support to obtain the SCIM Tenant URL and Secret Token for your organization.
5
Configure attribute mappings
In the Provisioning section, expand Mappings.
Click Provision Microsoft Entra ID Users.
Review the attribute mappings and ensure the following are configured:
userPrincipalName → userName
mail → emails[type eq "work"].value
givenName → name.givenName
surname → name.familyName
jobTitle → title
Click Save.
Microsoft Entra ID provides default attribute mappings for standard SCIM attributes. Review the mappings to ensure they match your organization’s directory structure.
6
Configure scope and start provisioning
In the Provisioning section, go to Settings.
Set the Scope to one of the following:
Sync only assigned users and groups — Only users and groups assigned to the Brellium SCIM app are provisioned.
Sync all users and groups — All users in the directory are provisioned.
Set Provisioning Status to On.
Click Save.
Microsoft Entra ID begins the initial provisioning cycle. The initial cycle may take longer than subsequent cycles.
For most organizations, Sync only assigned users and groups is recommended to maintain control over which users have access to Brellium.
7
Verify provisioning
In the Provisioning section, check the Provisioning logs for the status of provisioned users.
In Brellium, verify that the provisioned user accounts were created with the correct profile attributes.
Update a test user’s profile in Microsoft Entra ID (for example, change the job title or department).
Verify that the profile update is synced to Brellium.
Unassign a test user from the Brellium app in Microsoft Entra ID.