

Prerequisites
Before you configure SCIM provisioning, ensure you have:- Administrator access to your Okta tenant
- A Brellium admin account with permissions to authorize integrations
- The Brellium app added to your Okta org from the OIN catalog
- SSO configured for Brellium (see the SSO Configuration for Okta guide)
Supported features
The Brellium SCIM integration supports the following provisioning features:
For more information on these features, visit the Okta Glossary.
Supported profile attributes
The following SCIM attributes are supported for user provisioning between Okta and Brellium:Core attributes
Enterprise User extension attributes
The following attributes use theurn:ietf:params:scim:schemas:extension:enterprise:2.0:User schema namespace.
Since all of the attributes listed above are standard SCIM attributes, Okta provides default mappings for them. You do not need to manually configure attribute mappings in most cases.
Express Configuration steps for provisioning
1
Configure SCIM with Express Configuration
- In the Brellium app instance in your Okta org, go to the Provisioning tab.
- Click Express Configure SCIM in the Express Configuration for Brellium section. You are redirected to the Brellium sign-in page.
- Sign in to Brellium using your admin credentials.
- On the consent page, review the Authorize App details to grant Okta access to Brellium’s SCIM endpoint, then click Accept.
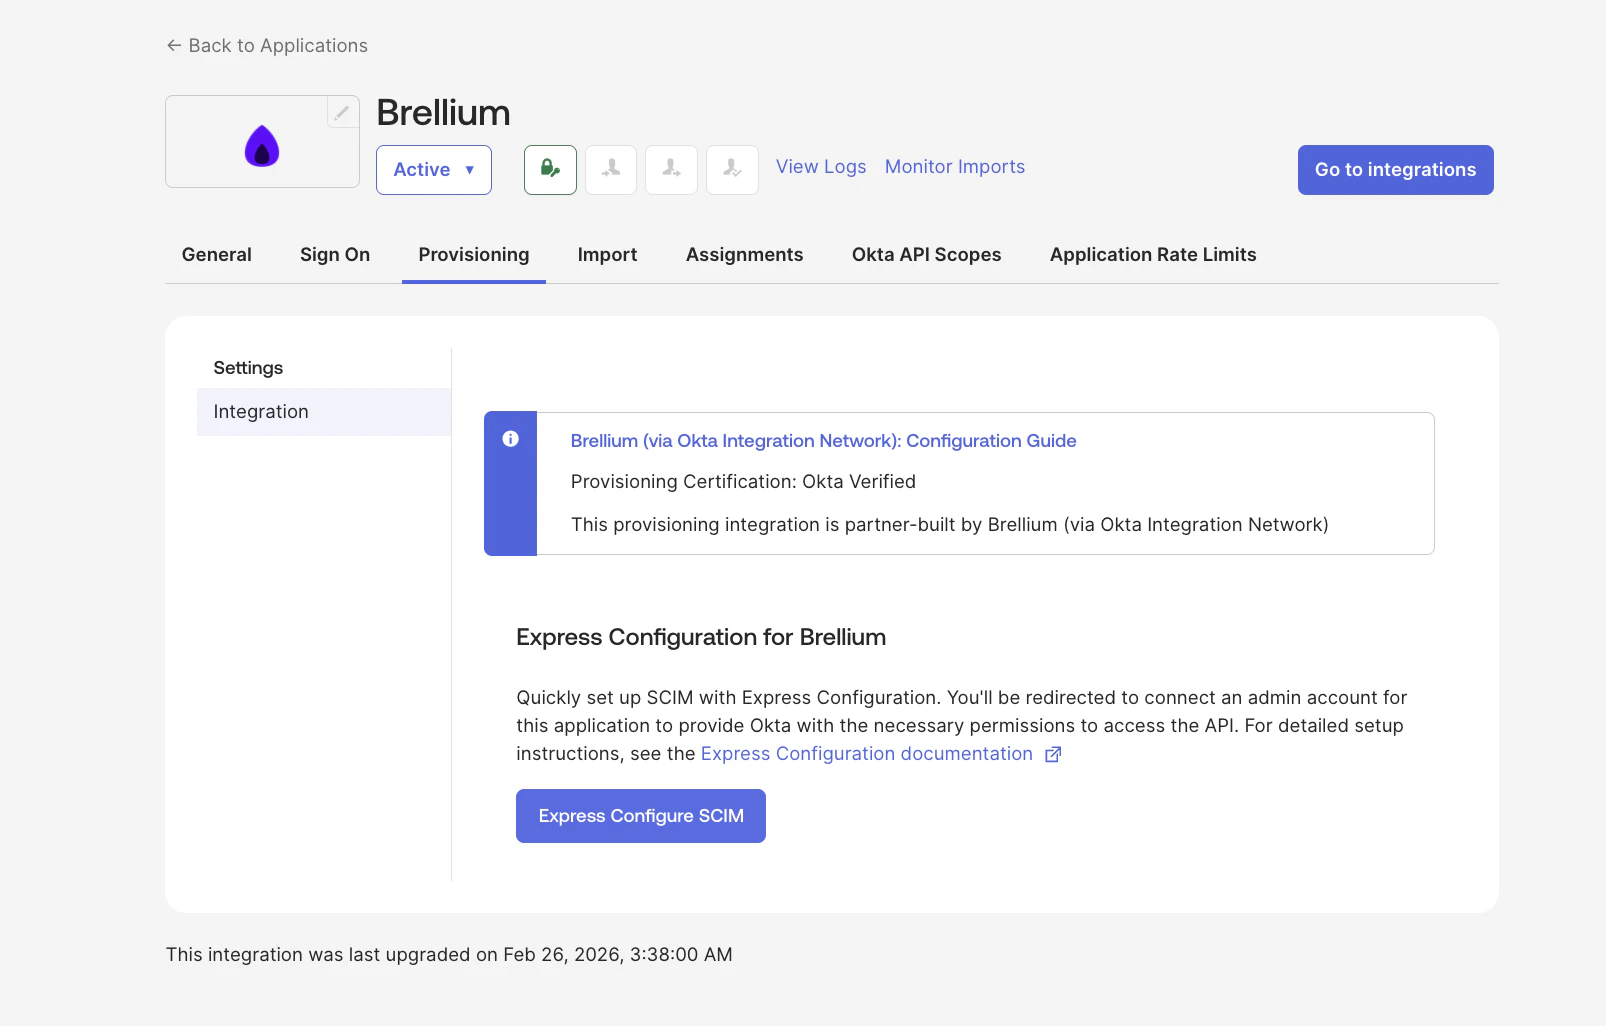
Express Configure SCIM button on the Provisioning tab
2
Enable provisioning features
- In the Provisioning tab, click To App under Settings.
- Click Edit.
- Enable the following options:
- Create Users
- Update User Attributes
- Deactivate Users
- Click Save.
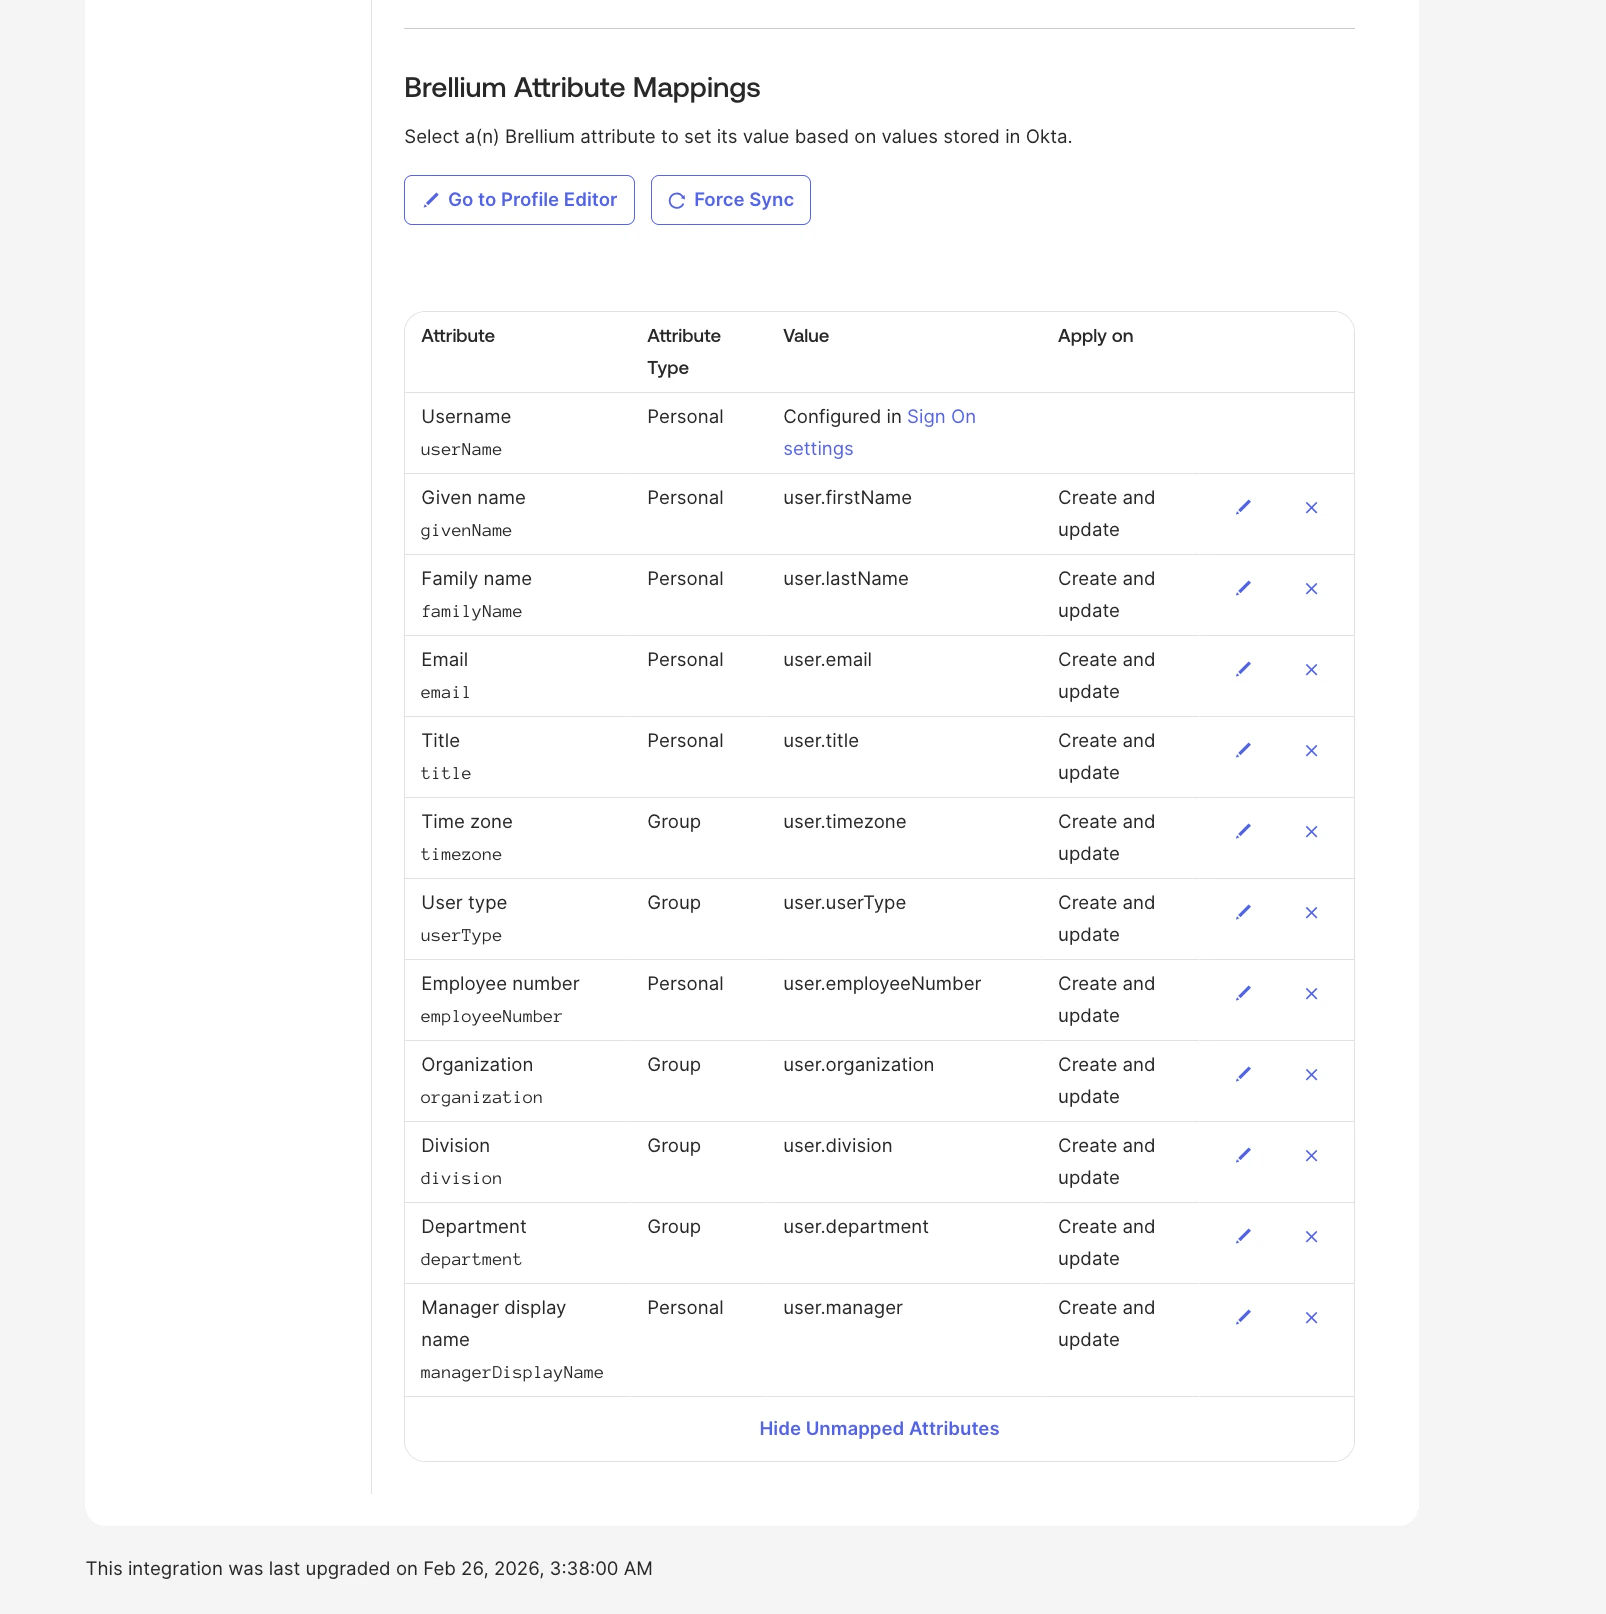
SCIM profile attribute mappings in Okta
3
Set the Application username format
- In the Brellium app instance, click the Sign On tab.
- Under Credentials Details, set the Application username format to Email.
- Click Save.
4
Assign users
- Go to the Assignments tab.
- Click Assign > Assign to People (or Assign to Groups).
- Select the users or groups to assign and click Assign.
- Review the user attribute mappings and click Save and Go Back.
- Click Done.
5
Verify provisioning
- Assign the Brellium app to a test user in Okta.
- In Brellium, verify that the test user account was created with the correct profile attributes.
- Update the test user’s profile in Okta (for example, change the job title or department).
- Verify that the profile update is synced to Brellium.
- Unassign the test user from the Brellium app in Okta.
- Verify that the user is deactivated in Brellium.
Troubleshoot
N/ASupport
If you have questions or encounter issues not covered in this guide, contact the Brellium support team:- Email: sso.support@brellium.com